I build
the tools
I need.
Welded steel, 3D-printed cells, homemade electrochemistry and cleanroom hardware. Everything below was made by hand, usually in several tries.
- MIG certified, practicing TIG
- Shear and press brake
- FreeCAD, Fusion 360, AutoCAD
- 3D printing
- Cleanroom trained
Dip bar
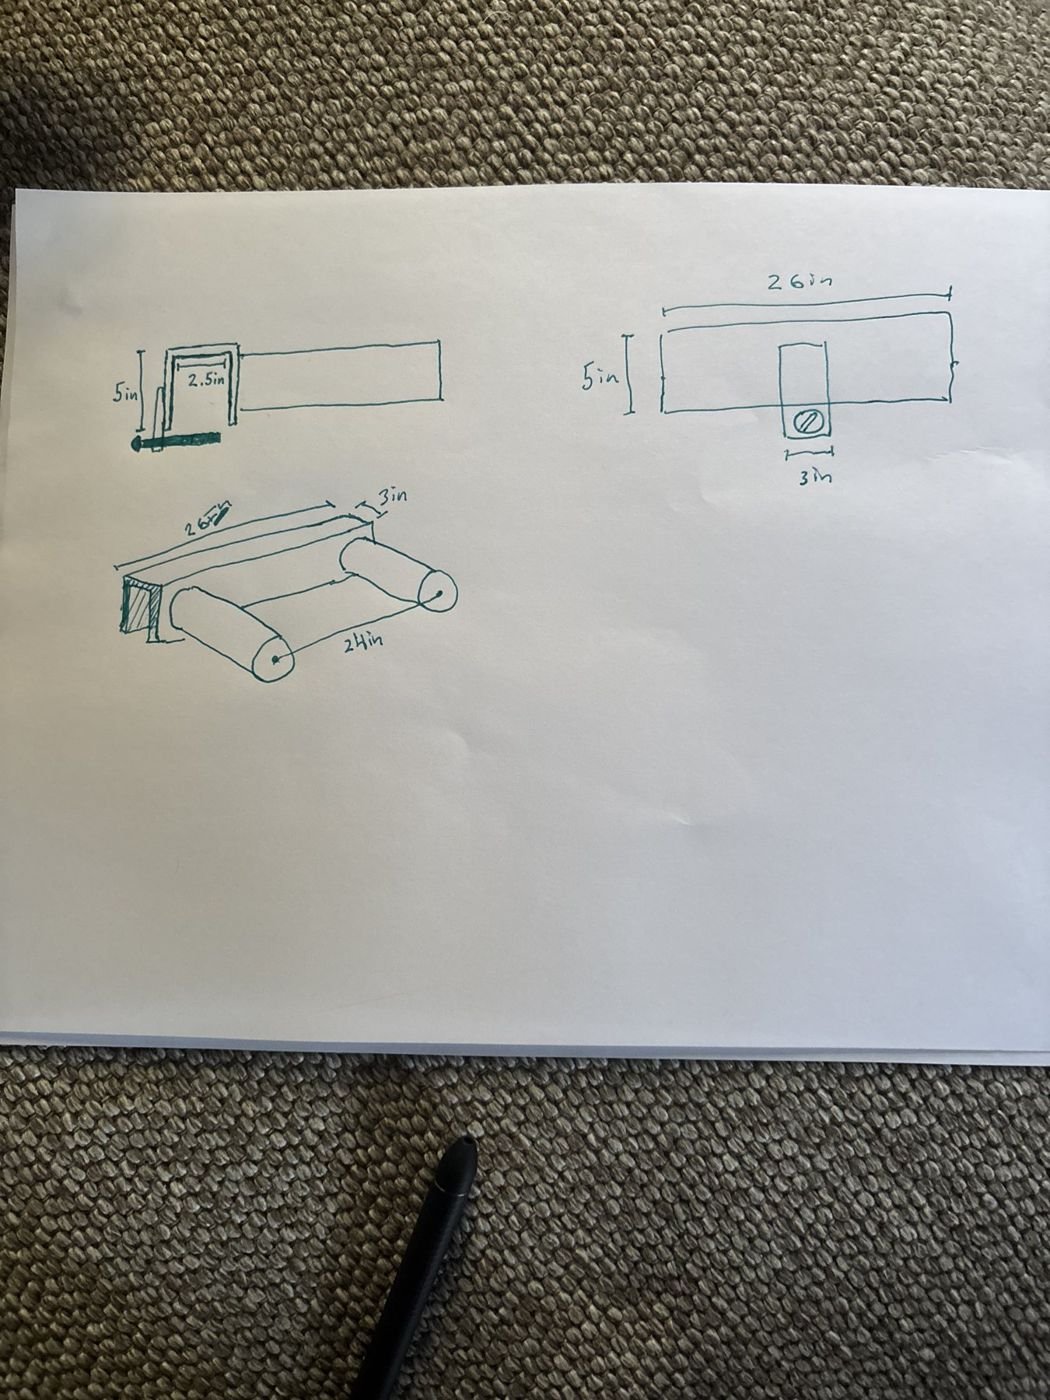
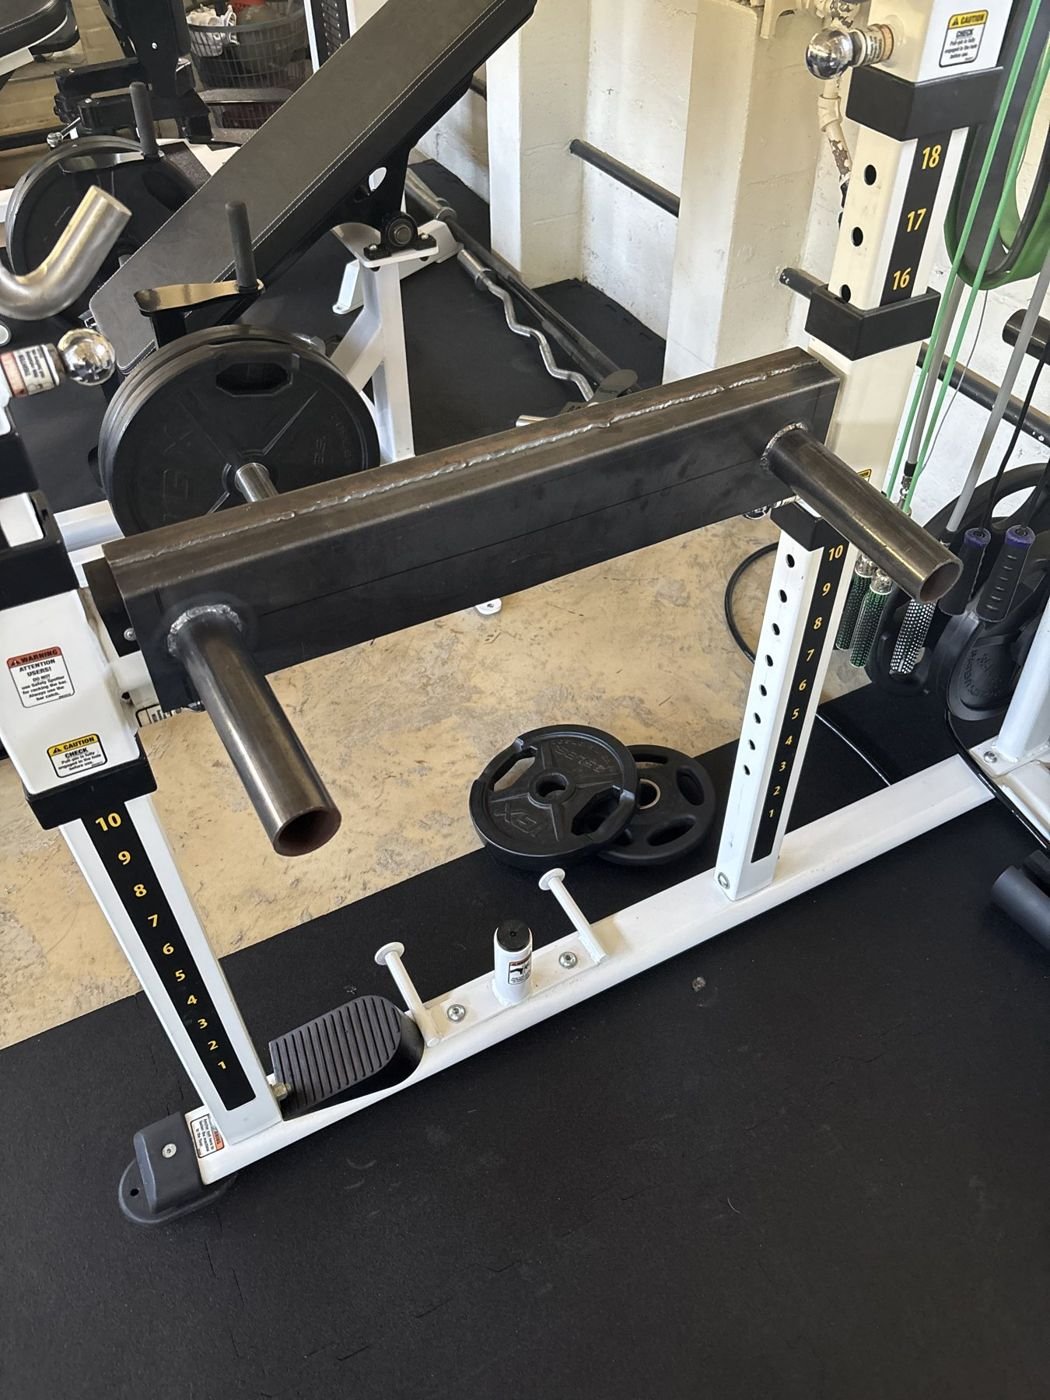
A 12 gauge steel dip bar for my home power rack. I drew it with dimensions, then cut, bent, welded and finished it myself in a metal shop, using the build to practice both MIG and TIG welding. Then I loaded it well past what it will see in normal use.
- Material
- 12 gauge steel (2.7 mm)
- Cut
- Baileigh shear
- Bend
- TRUMPF TruBend 2100
- Weld
- MIG and TIG
- Load test
- Body weight + 90 lb
Shop process
- SketchTop, end and isometric views with dimensions, so every cut and bend was planned before touching steel.
- ShearCut the 12 gauge steel to size on a Baileigh industrial shear.
- BendFormed the bends on a TRUMPF TruBend 2100 press brake.
- WeldWelded the parts together, practicing both MIG and TIG on the joints.
- DeburrGround down the sheared edges and welds with a grinder so nothing sharp meets a hand.
- Load testHung my full body weight from it while wearing a 45 lb weighted vest and a 45 lb weighted chain.
Ion-exchange membrane
Splitting brine needs a membrane that lets sodium ions through and keeps the two sides apart. I made my own cation-exchange membrane from resin beads, built a divided cell around it, and tested whether it really keeps the sides separate.
- Resin
- Water-softener cation-exchange beads
- Grind
- Industrial grain grinder
- Mix
- 1:1 PVC cement to resin, plus water
- Backing
- Fiberglass cloth
- Electrodes
- Nickel
- Result
- pH difference held 90 min, unplugged
The membrane
I ground water-softener cation-exchange beads to a fine powder in an industrial grain grinder, then mixed the powder 1:1 with PVC cement. Adding water was the key step. Without it the mix clumped instead of spreading evenly over the fiberglass cloth. The cement binds the powder and the cloth gives the sheet strength.
The resin carries fixed negative charges, so it passes positive ions like sodium and repels negative ions like hydroxide.
The cell
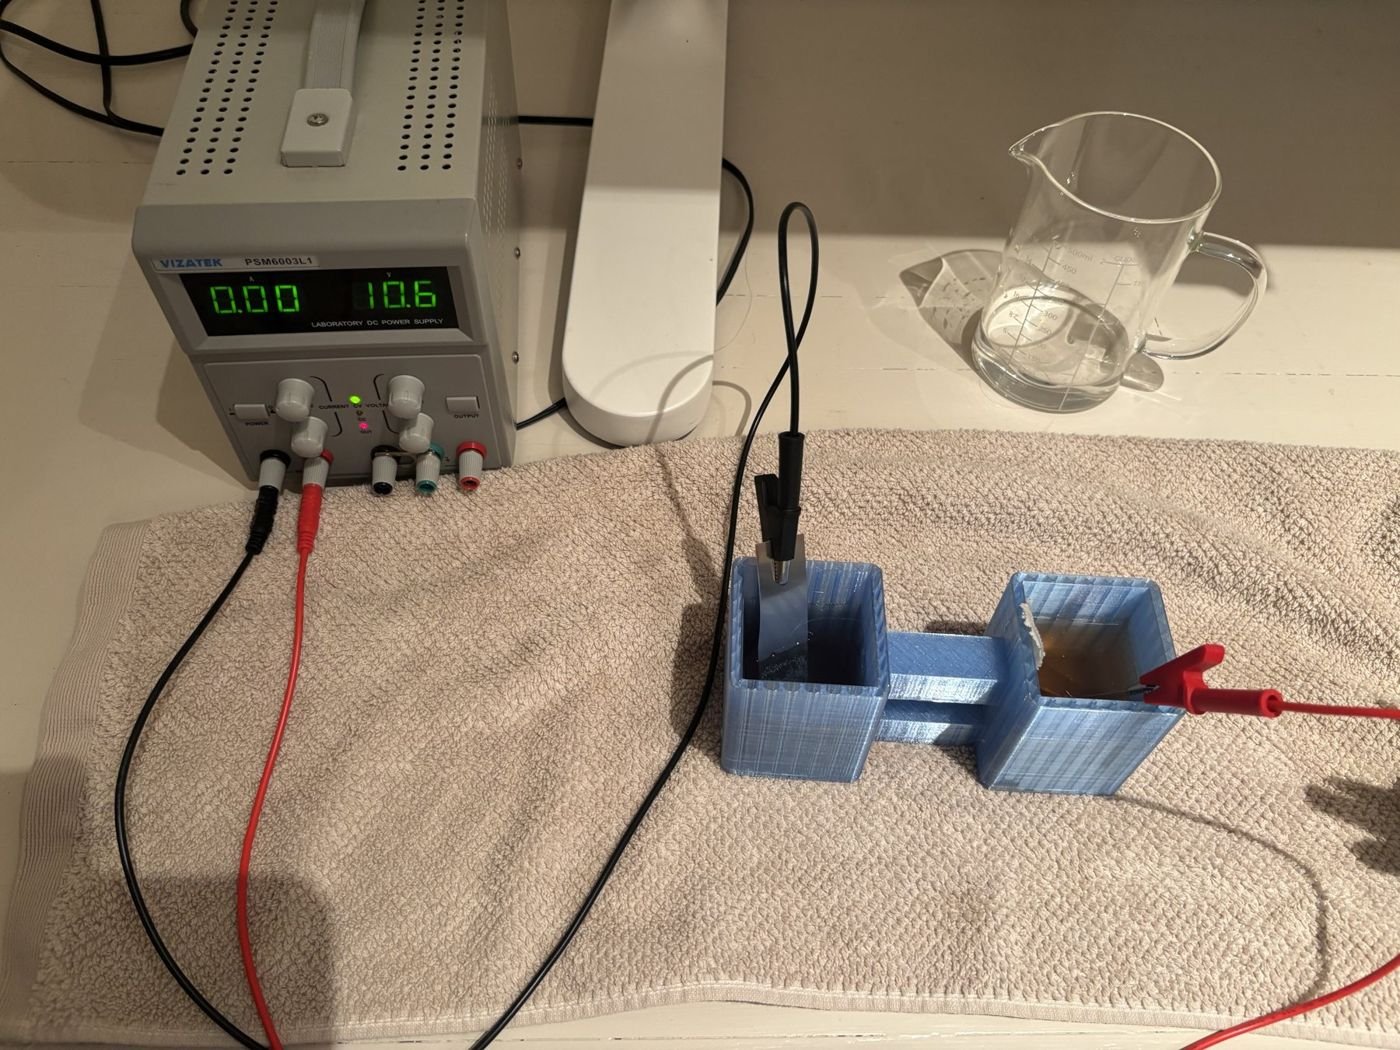
I designed and 3D printed a two-chamber cell with the membrane sealed across the passage between the halves, then ran it on a bench DC supply with nickel electrodes. At the cathode, water is reduced to hydrogen gas and hydroxide, so that side turns basic while the anode side turns acidic. Sodium ions cross the membrane to carry the current, and the hydroxide cannot follow them back.
The proof: 90 minutes later
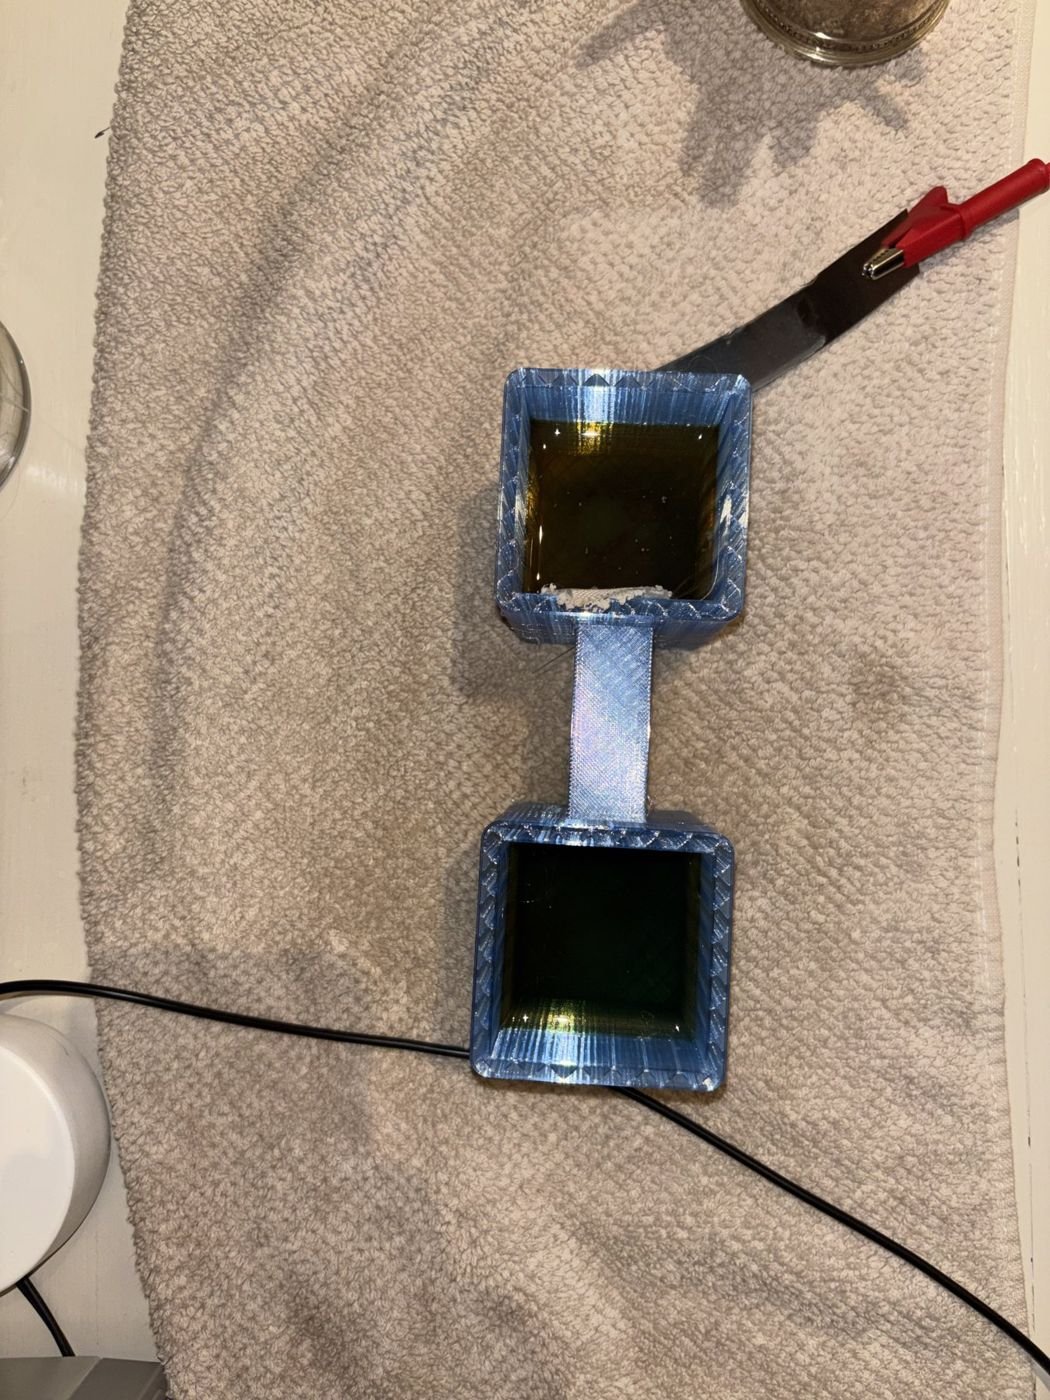
The second photo is the same cell 90 minutes later, with the nickel electrodes unplugged. The two chambers still hold different pH. If the membrane leaked or were only a porous divider, the solutions would mix and the pH would even out. Holding the difference with the power off shows the membrane is sealed and keeping the hydroxide on its own side, which is the job of a cation-exchange membrane.
Conductive carbon felt
I started with carbon fiber felt welding blankets from the shop. Despite the name, these are usually pre-oxidized PAN fiber, a precursor that has not been fully carbonized, so they resist heat but conduct poorly. Carbonizing the felt the rest of the way turns it into conductive carbon felt, a common electrode material. The goals were even carbonization across the whole sheet and low electrical resistance.
- Start
- Carbon fiber felt welding blanket
- Heat
- Microwave
- Goal
- Even carbonization, low resistance
- Probes
- 1 in apart
- Untreated
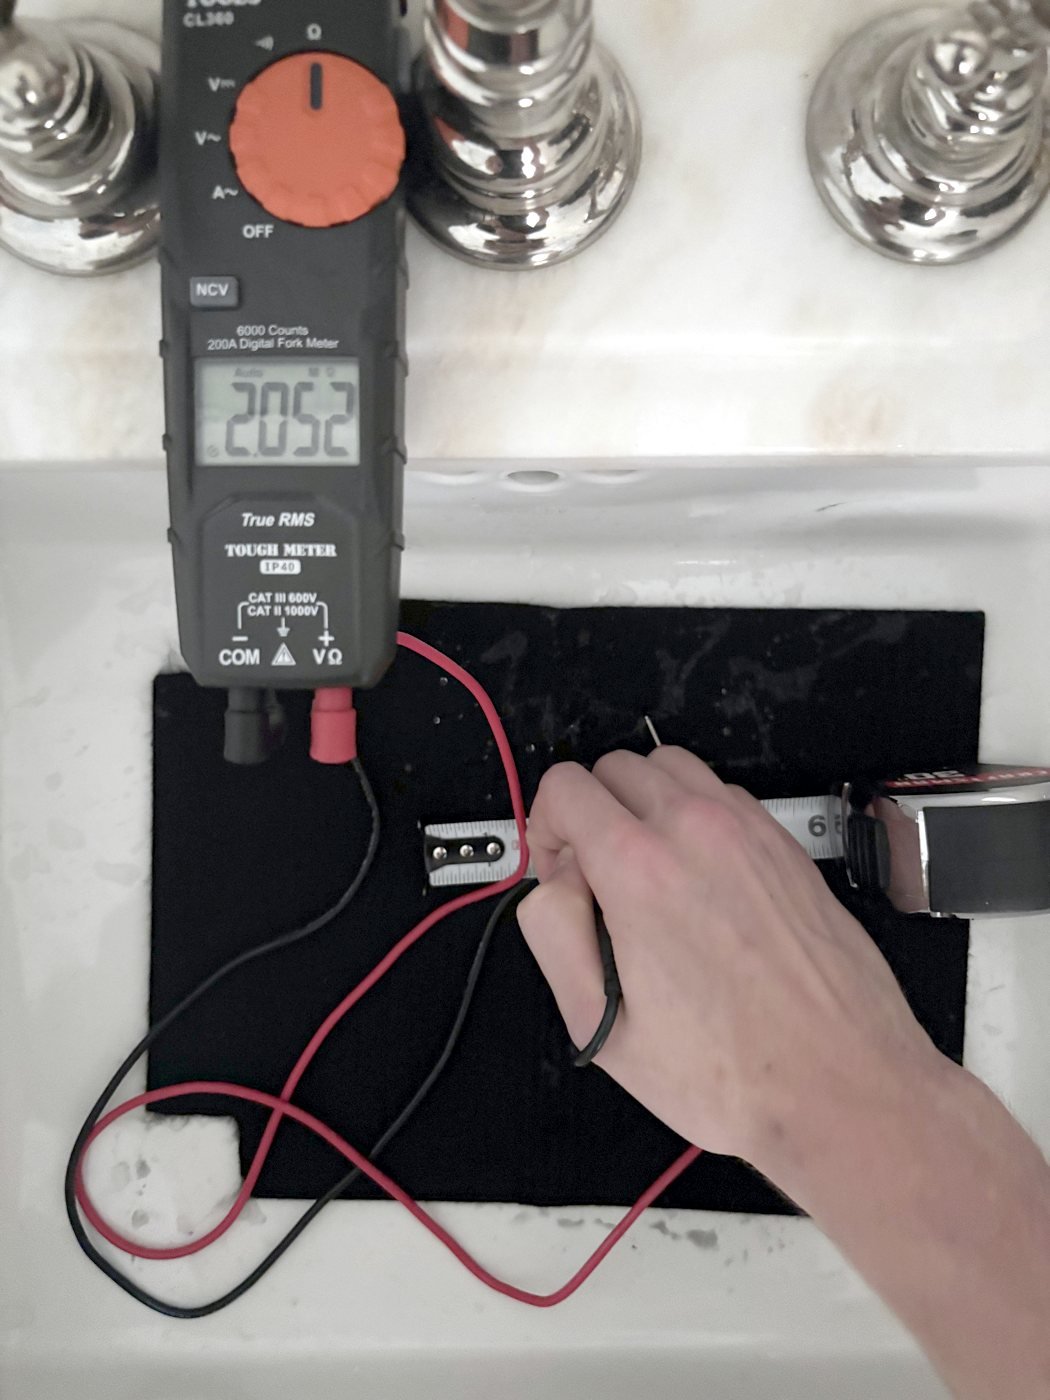
- 2.052 MΩ damp, OL dry
- Carbonized
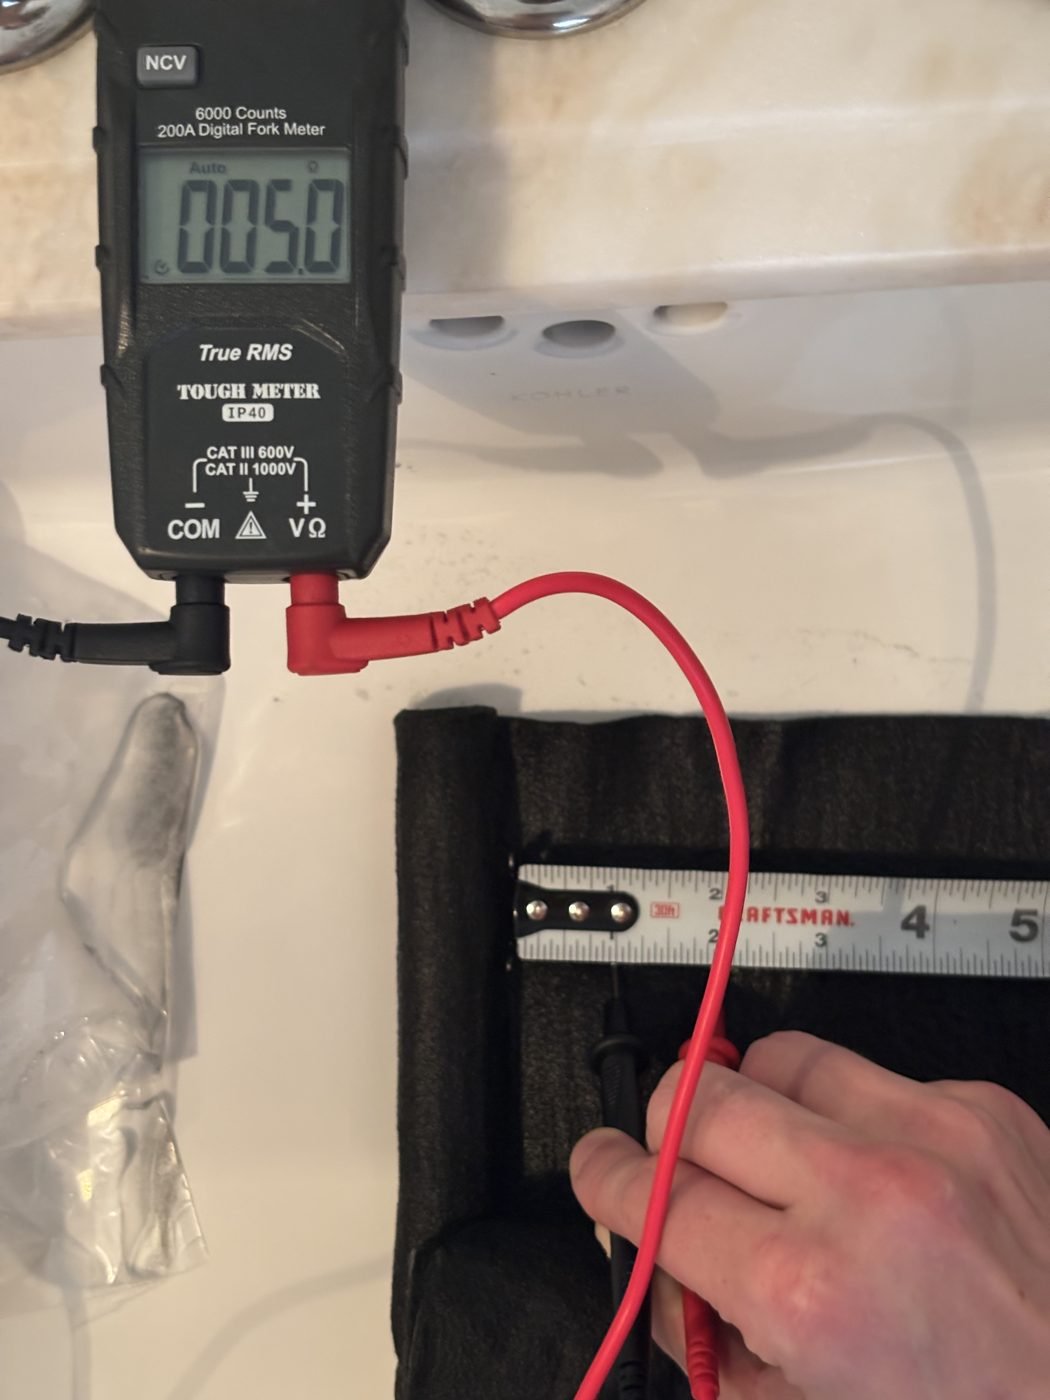
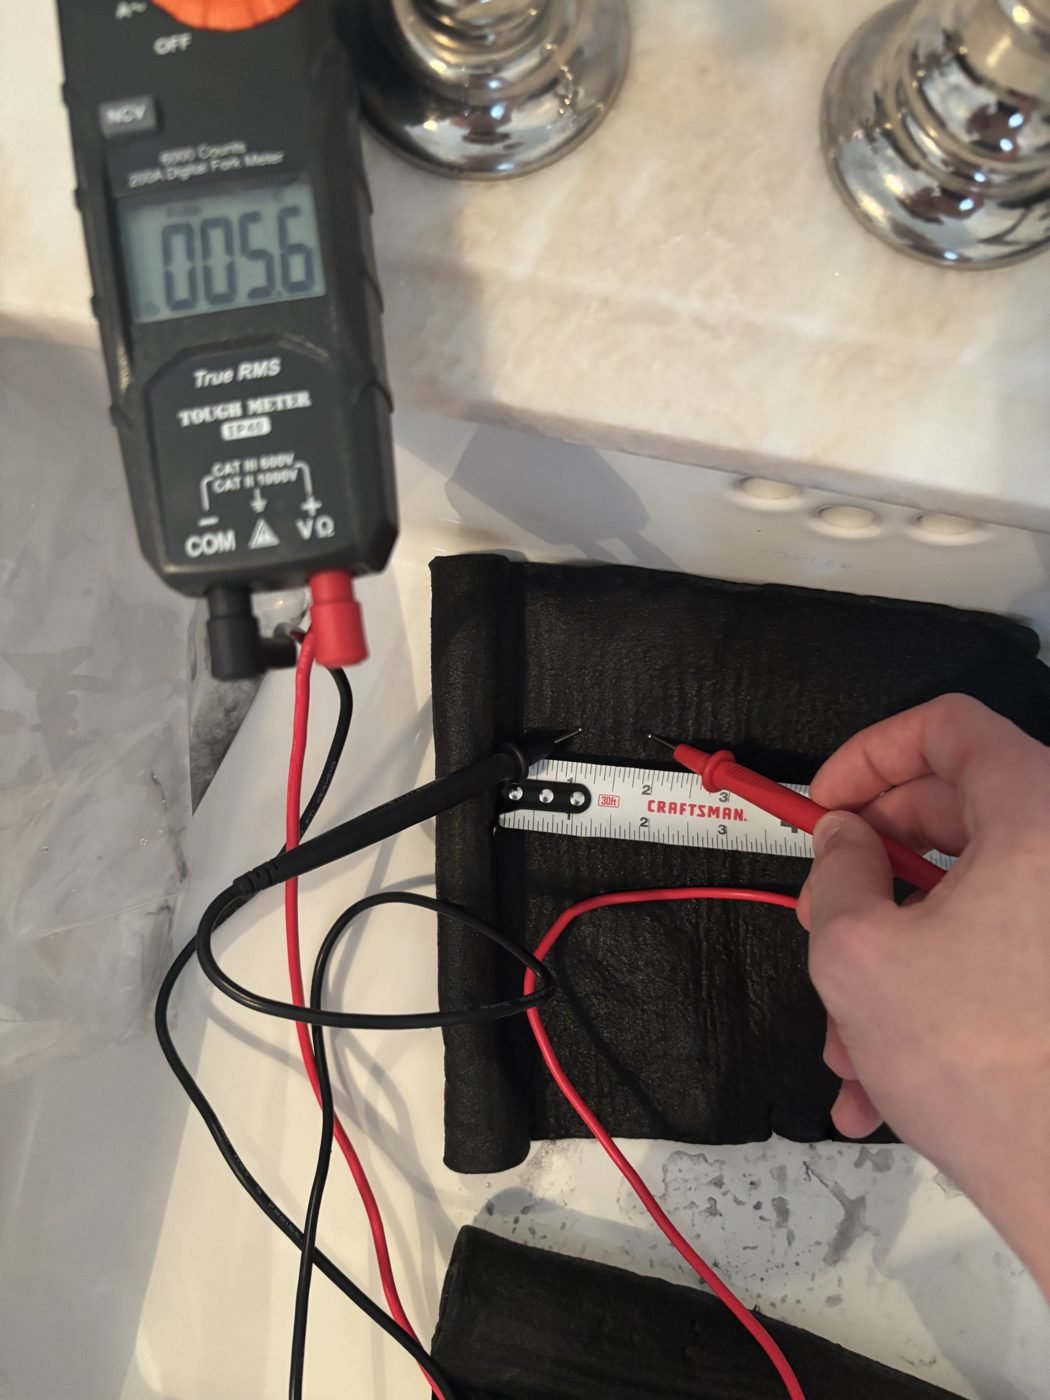
- 5.0–5.6 Ω
Setup
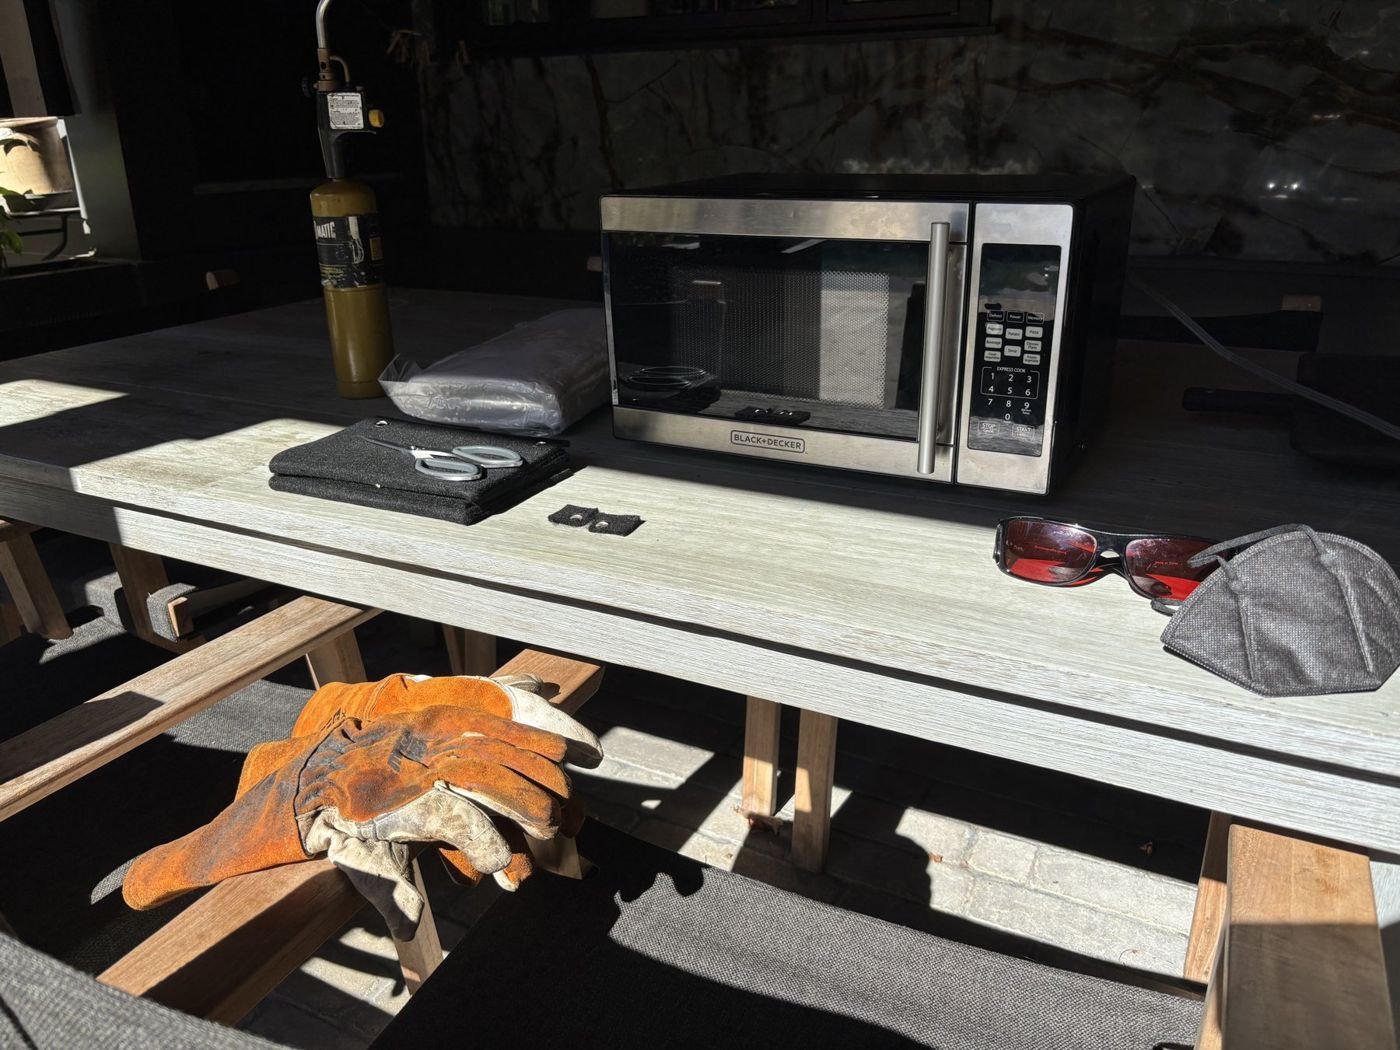
Heat is the hard part, so the work happens outdoors with heat-rated gloves, a mask and eye protection laid out before anything starts. The video follows the process from loading the material through handling it afterward.
The proof: resistance
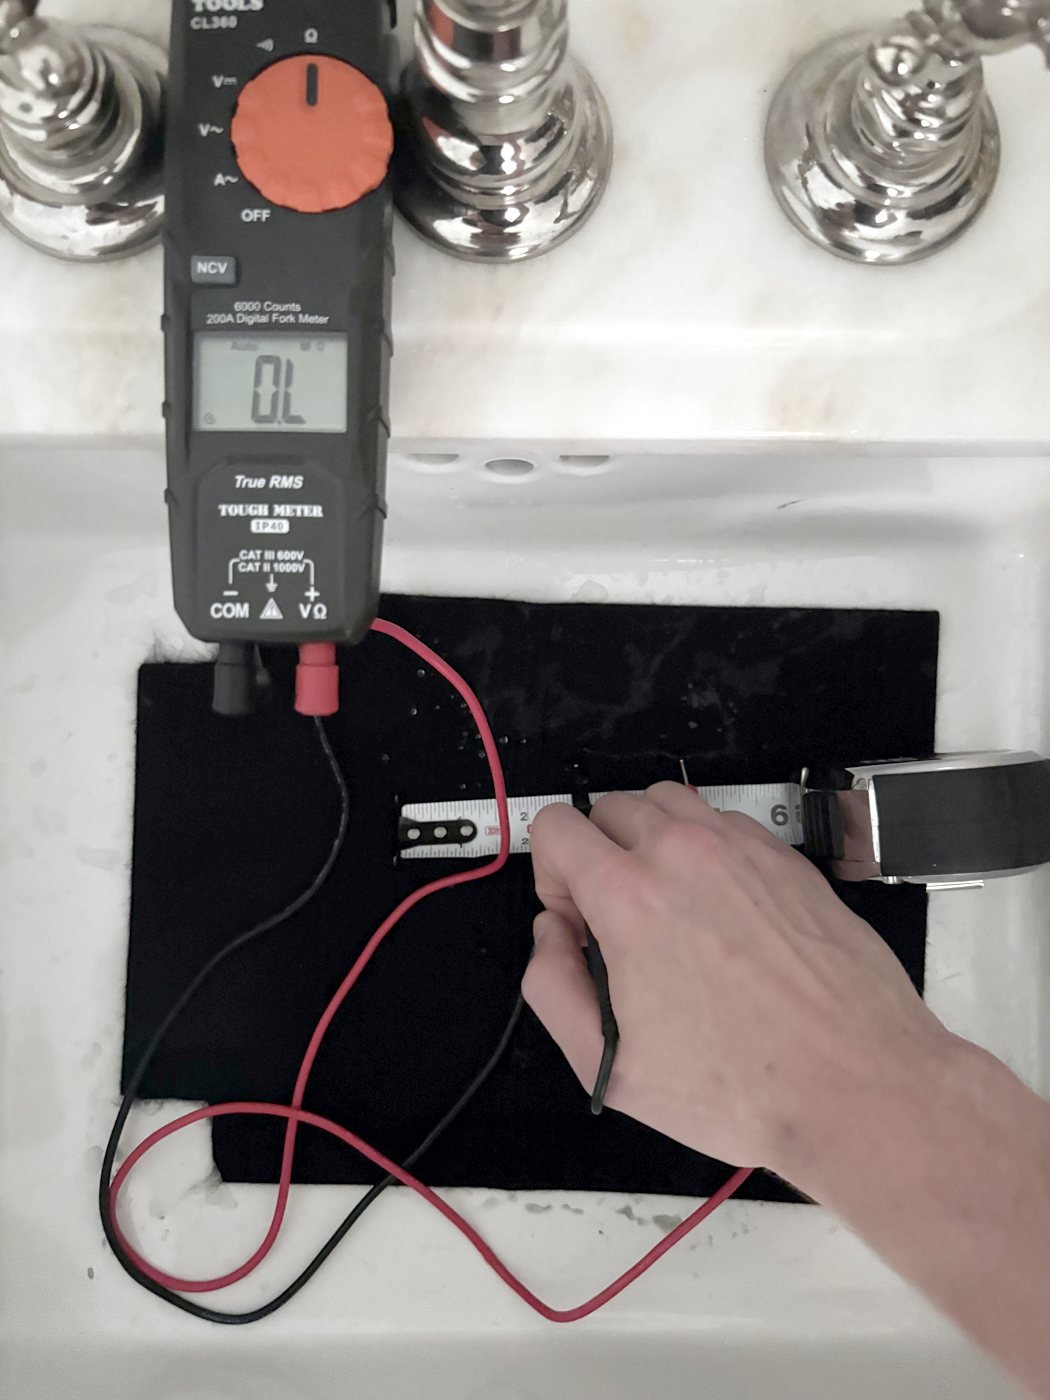
Every reading was taken with the multimeter probes 1 inch apart, against a tape measure. As a control I measured untreated welding blanket. Dry, it read OL, beyond the meter's range, so it is effectively an insulator. The carbonized felt was still damp from quenching, so I wet the untreated blanket too for a fair comparison. Damp, it read 2.052 MΩ.
The damp carbonized felt read 5.0 Ω and 5.6 Ω at two different spots. That is about 400,000 times lower than the damp untreated blanket, and the two spots are only 0.6 Ω apart, which points to even carbonization across the sheet.
| Sample | Condition | Reading, 1 in |
|---|---|---|
| Untreated blanket | Dry | OL (over range) |
| Untreated blanket | Damp | 2.052 MΩ |
| Carbonized felt, spot 1 | Damp from quench | 5.0 Ω |
| Carbonized felt, spot 2 | Damp from quench | 5.6 Ω |
Earlier work
A fixture for fragile microstructures at a Mountain View lab, a reactor concept, a critical point dryer I learned to run, and the machine learning research behind my AAAI paper.
Probe transfer fixture
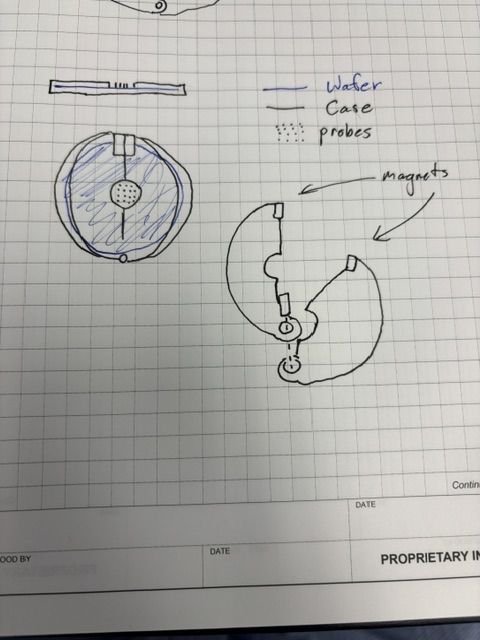
My probes are 3D microstructures written with two-photon polymerization, then metallized so they become fine metal wires. Pulling one out of liquid forms a meniscus, and the surface tension can snap it. I designed a fixture around that failure.
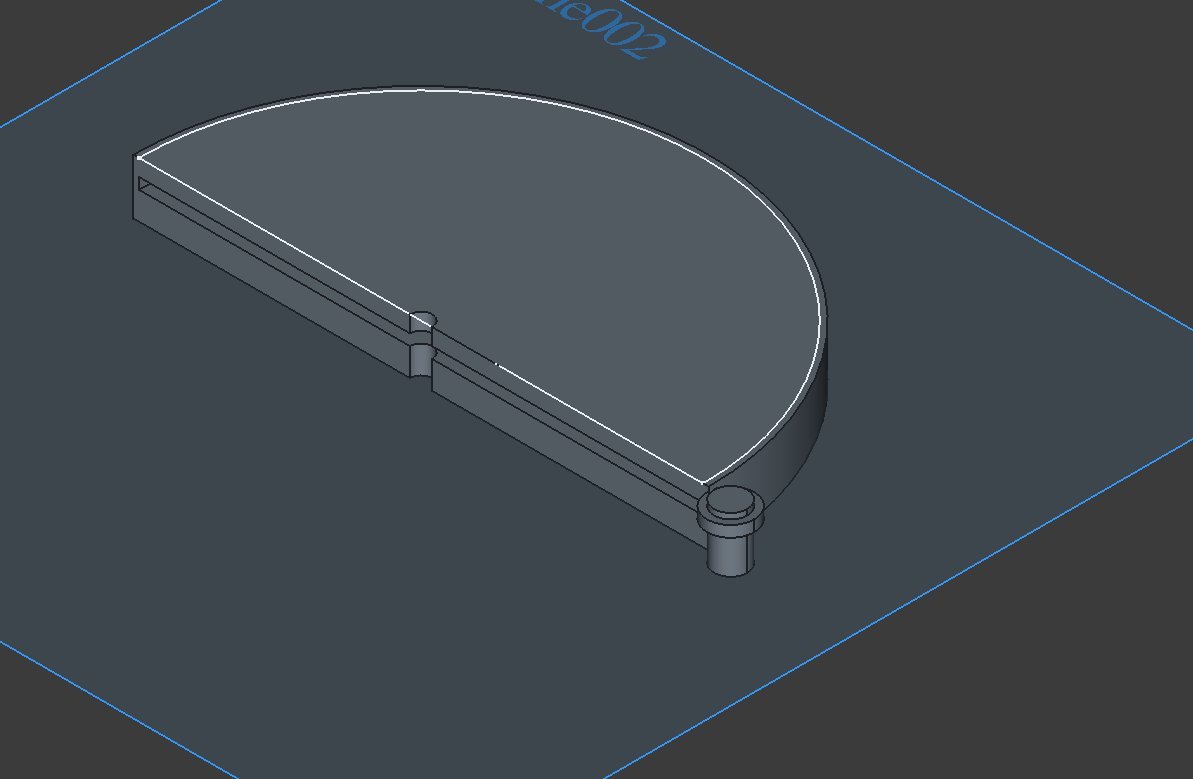
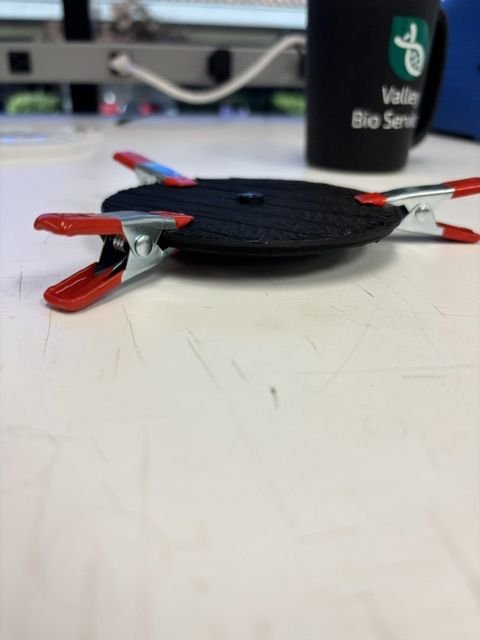
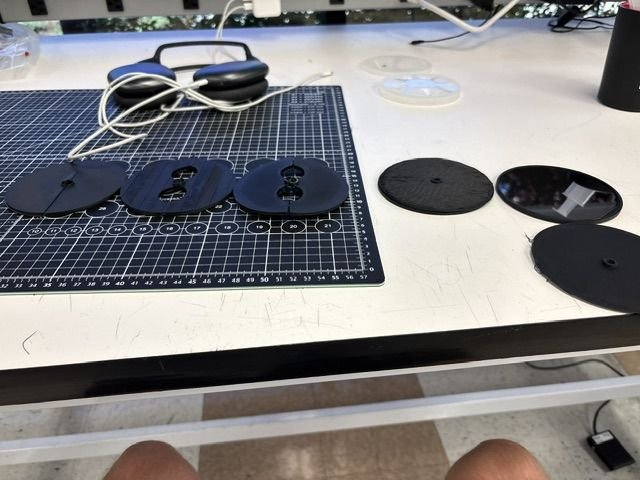
A 3D-printed disc case holds substrate and probes as one stack, located by a magnet pair so I can open and reseat it in seconds. External grip points take spring clips, so no fingers go near the solution. I modeled the holder in FreeCAD, and it took more than three printed revisions.
PULSAR reactor
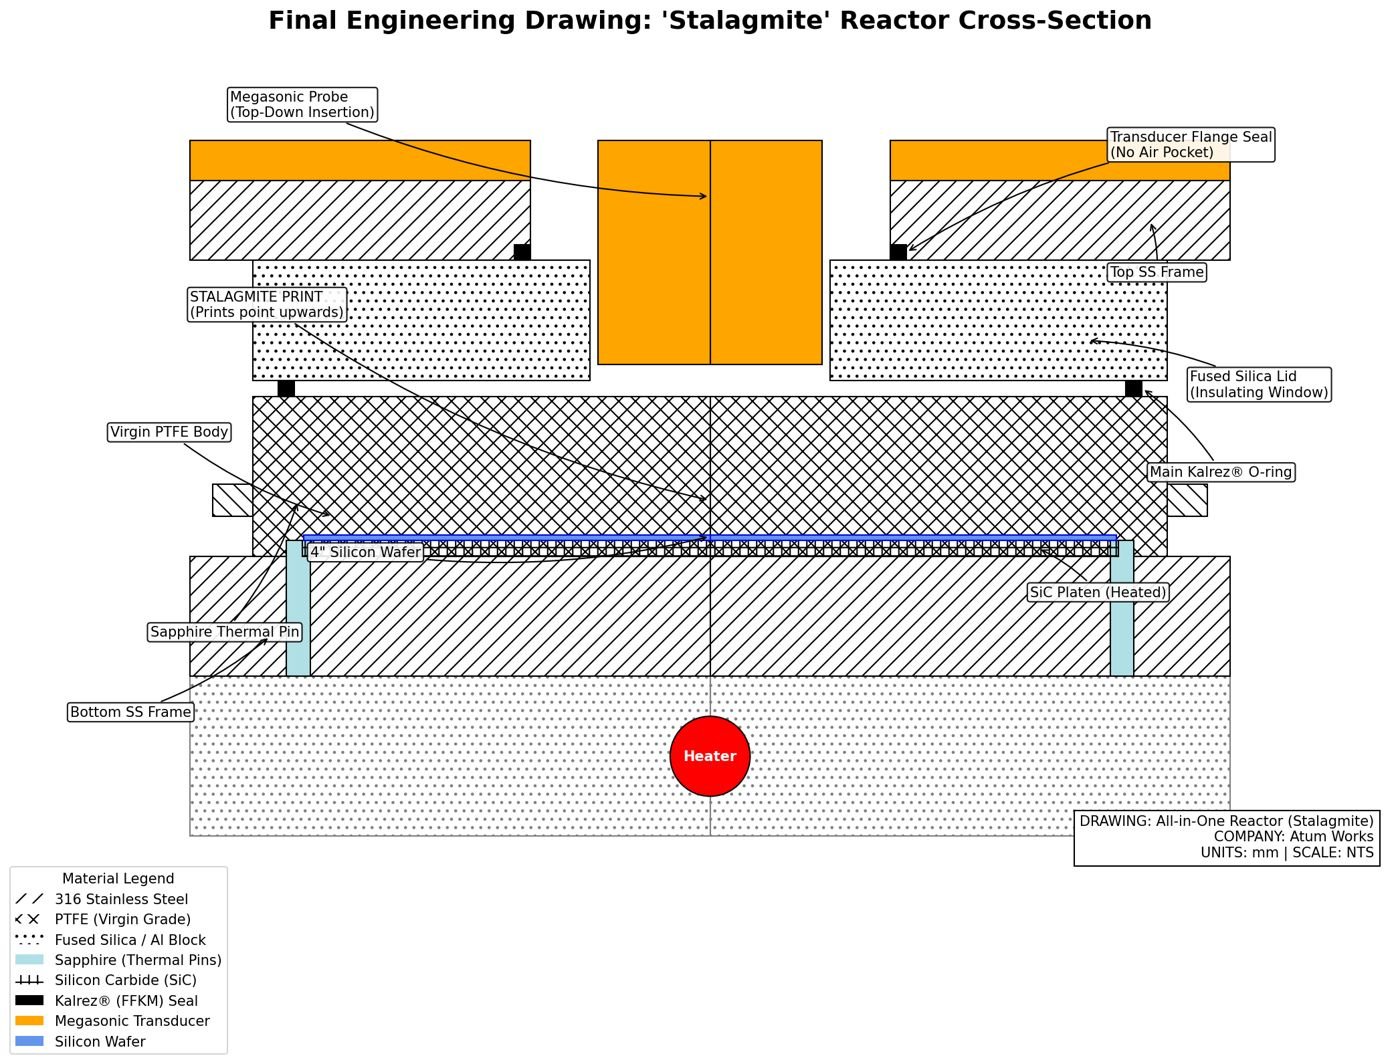
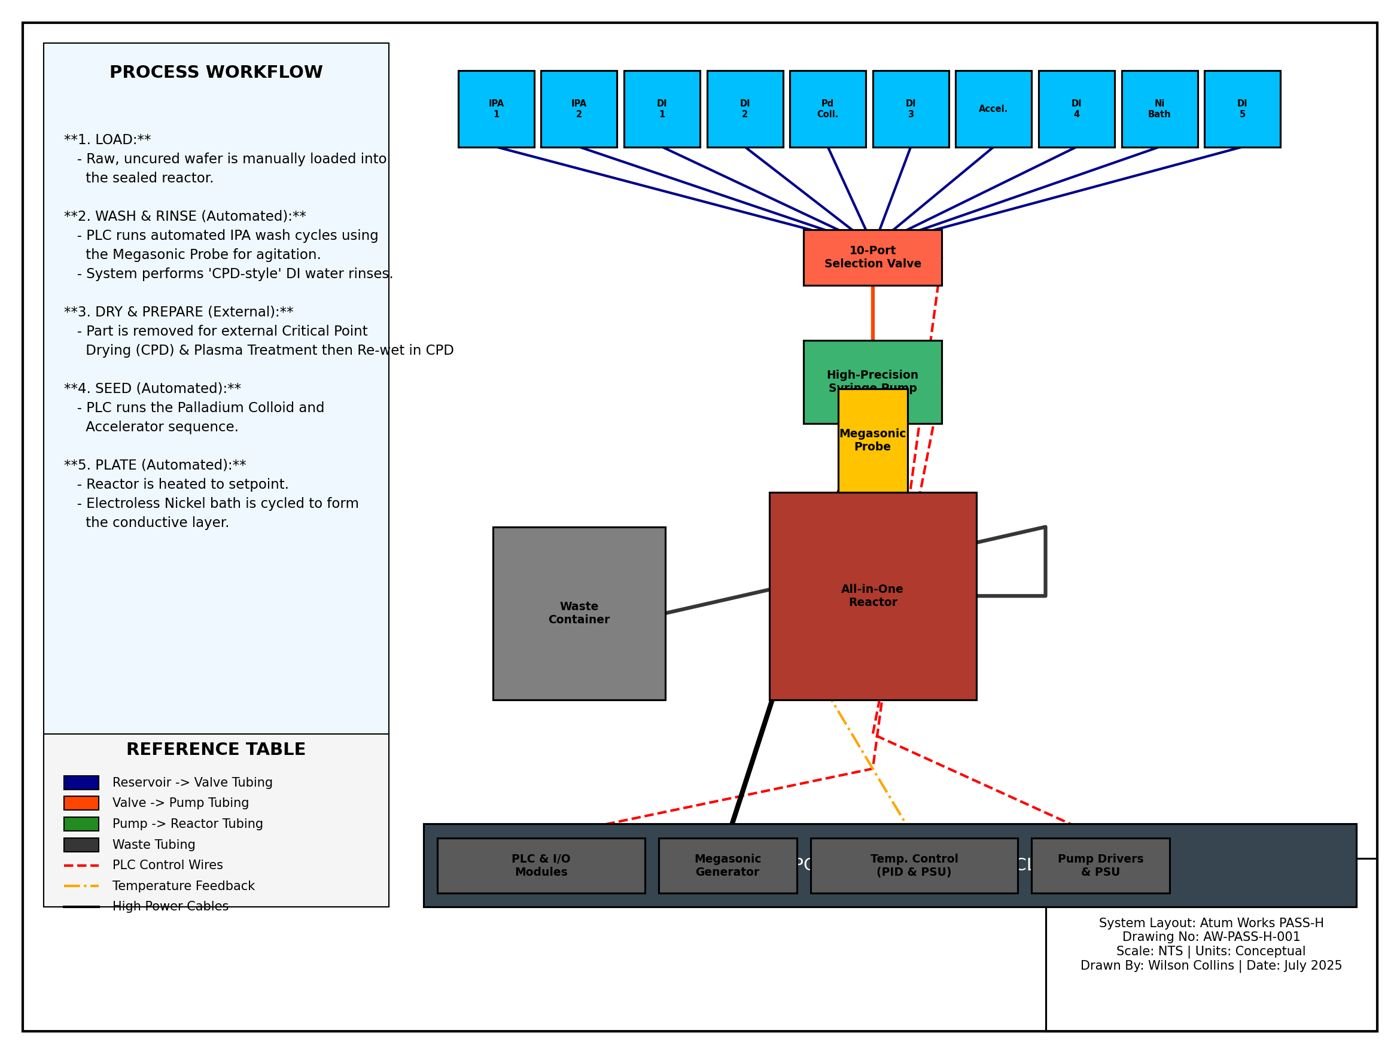
To remove hand transfers entirely, I designed a sealed "stalagmite" reactor that does cleaning, megasonic surface activation, electroless seeding and plating in one body, switching chemistry through a 10-port valve.
The wafer sits face-up in a PTFE body sealed with a Kalrez O-ring, with a SiC platen and heater below and a megasonic transducer above.
Critical point dryer
I was the first person in the lab trained to run the Tousimis critical point dryer, which swaps a wet sample's liquid for CO₂ and carries it through the critical point so delicate structures dry without surface tension damage. I ran it twice a day for three days to get a full batch of probes through.
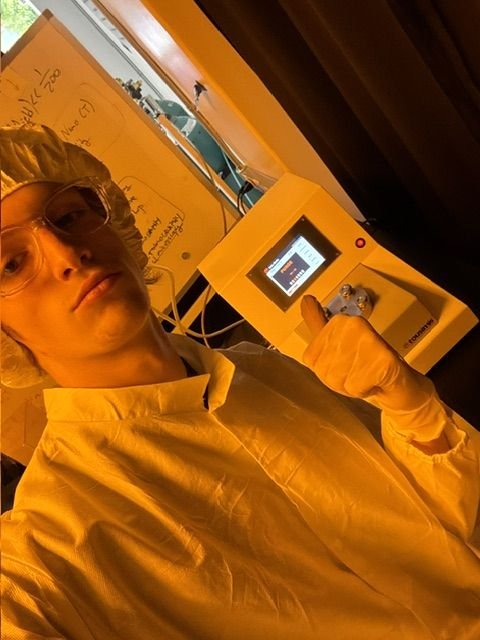
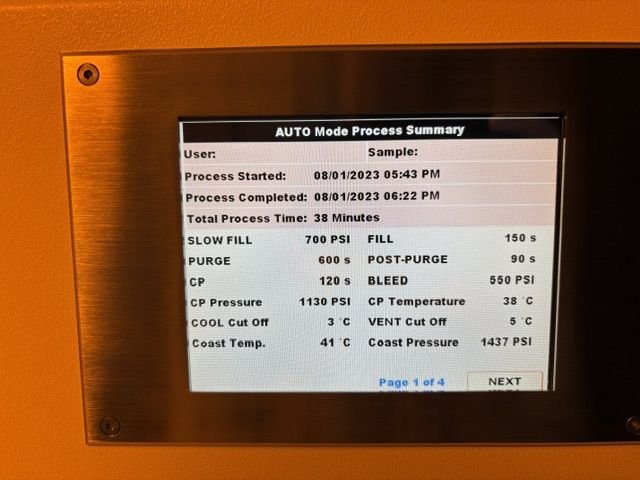
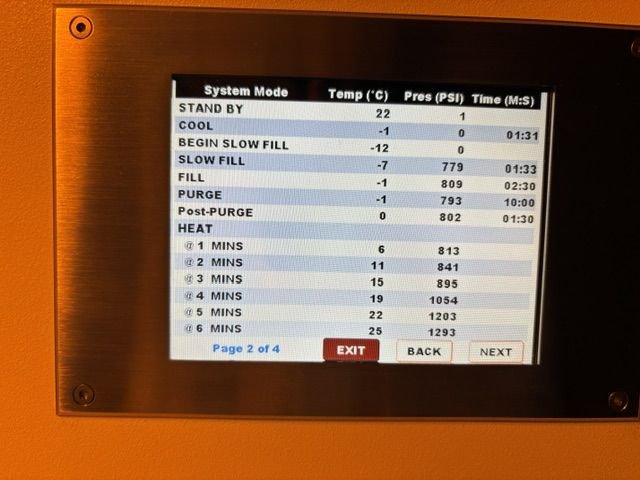
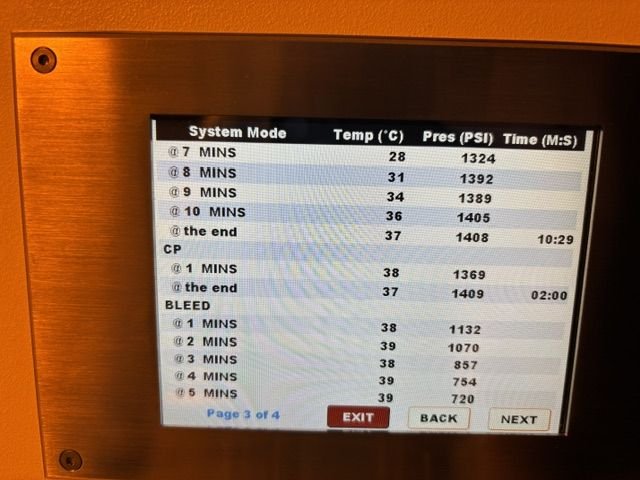
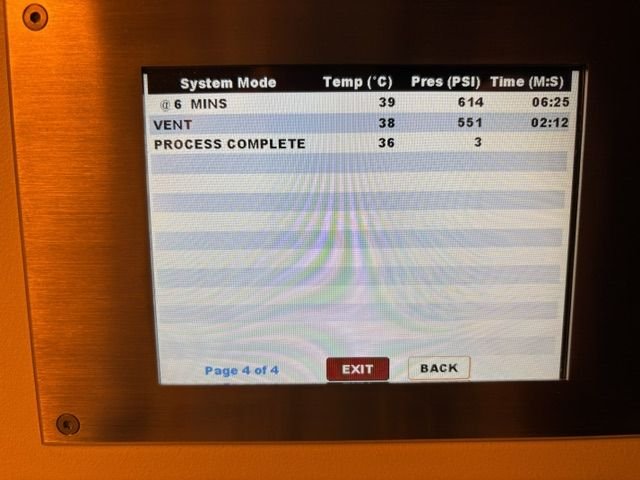
Logged run: 38 min total, critical point 1130 psi at 38 °C.
Prometheus
A variational autoencoder framework, built with Brandon Yee, Caden Wang and Mihir Tekal, that finds phase transitions and order parameters without being told what they are. We co-founded the Yee Collins Research Group.
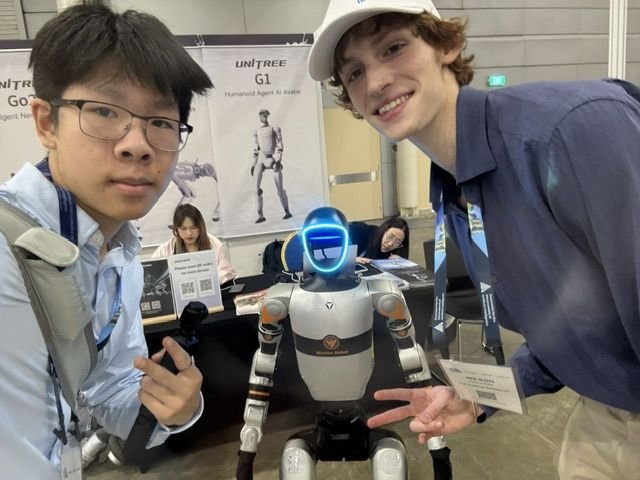
- AAAI-26 Student AbstractAccepted and presented in Singapore.
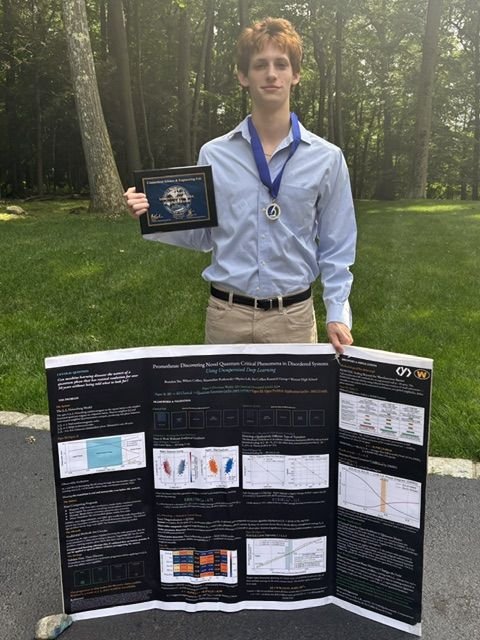
- 3rd place, Computer Science, CT Science and Engineering FairExtended to the frustrated J1–J2 Heisenberg model.
- On the 2D Ising model0.85 correlation with theoretical magnetization, critical temperature within 0.27% of the known value, 89% better than PCA, unsupervised.